Understanding the Drywall Painting Process
Overview of Drywall Painting
Painting drywall is an essential aspect of interior finishing that not only enhances aesthetic appeal but also protects the underlying materials. Whether you are working on new installations or refreshing existing walls, understanding the steps involved in drywall painting is crucial for achieving professional results. This article will delve into every aspect of drywall painting, from preparation to painting techniques, ensuring you have the knowledge to perform high-quality work. For those seeking specific drywall painting tips, we’re here to guide you through the intricacies involved in this rewarding task.
Common Misconceptions About Drywall Painting
Many DIY enthusiasts harbor misconceptions about the drywall painting process. One prevalent myth is that it’s acceptable to paint directly onto bare drywall without any preparation. While you technically *can* do this, it is generally not advisable, especially with lighter-colored paints. The seams and spots where screws are anchored can show through the paint, leading to a less-than-desirable finish.
Another misconception is that one or two coats of paint are sufficient. In reality, depending on the color and type of paint used, multiple coats may be necessary to achieve full coverage. Finally, many people believe that cheap paint is a viable option. Investing in quality paint can save time and money in the long run by reducing the number of coats needed and improving durability.
Benefits of Properly Painting Drywall
The benefits of painting drywall correctly extend beyond aesthetic enhancements. First and foremost, high-quality paint serves as a protective barrier against moisture and mold, which can damage the walls over time. Proper painting techniques can also enhance the room’s atmosphere, making it feel larger or warmer depending on the colors chosen. Beyond functionality, a well-painted drywall surface increases the home’s value and leaves a lasting impression on visitors.
Preparation Steps for Effective Drywall Painting
Essential Tools and Materials Needed
Preparation is key to achieving a flawless drywall finish. Having the right tools and materials on hand can streamline the process significantly. Essential items include:
- Drywall primer
- Paint (preferably latex or acrylic)
- High-quality paint rollers and brushes
- Drop cloths to protect flooring and furniture
- Sandpaper or sanding block
- Putty knife and drywall compound for repairs
- Vacuum or lint-free cloth for cleaning
- Painter’s tape to mask off edges and trim
Cleaning and Repairing Drywall Before Painting
Before embarking on any painting project, it’s vital to examine the drywall sections for any imperfections. This includes holes, cracks, or other surface irregularities. Begin by cleaning the wall using a vacuum or damp cloth to remove dust and dirt, which can interfere with paint adhesion. Any damages should be repaired with a putty knife and drywall compound, ensuring they are neatly filled and smoothed.
After repairs, be sure to sand the area until it is flush with the surrounding surface. This preparation phase is crucial for obtaining a smooth finish and prevents defects in the final paint job.
Choosing the Right Primer for Your Project
Primer is an underappreciated but essential component in the drywall painting process. It prepares the surface for paint, ensuring better adhesion and coverage. When selecting a primer, consider the type of paint you plan to use as well as the color of the drywall. A good rule of thumb is to utilize a PVA (polyvinyl acetate) primer for unpainted drywall, which seals the surface effectively.
If you’re painting over a previously painted surface, a high-quality bonding primer may be ideal, especially if changing from a dark to a light color to prevent bleed-through. Always consult the paint specifications to ensure compatibility.
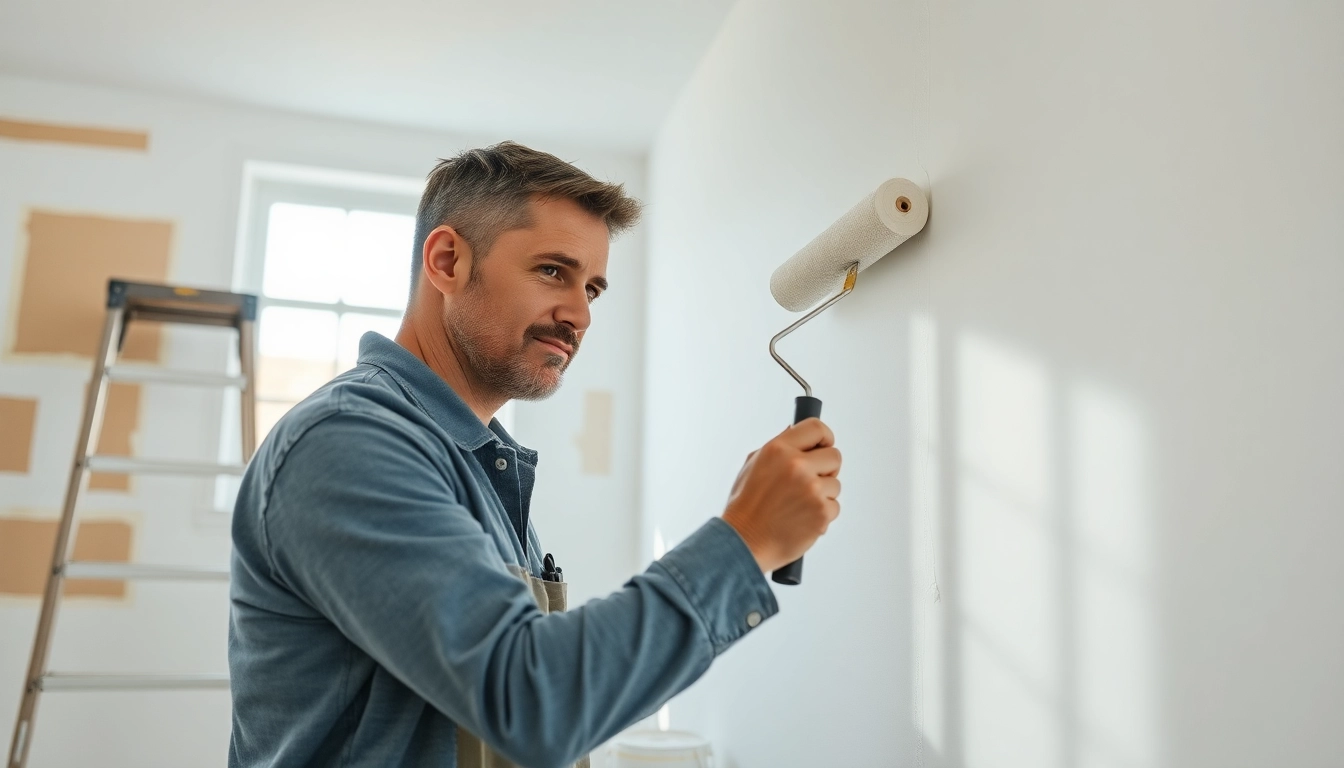
Techniques for Painting Drywall Like a Pro
Rolling vs. Brushing: Which Method to Use
When it comes to applying paint, both rolling and brushing have their strengths and ideal use cases. For large, flat surfaces, using a roller is the most efficient way to cover drywall quickly. Rollers work well for smooth finishes and can often apply paint more evenly than a brush.
However, for detailing areas such as edges, corners, or moldings, a high-quality brush is indispensable. The combination of both methods can yield professional-looking results, ensuring that every nook and cranny has been addressed.
Applying Multiple Coats: When and How
Typically, drywall should receive more than one coat of paint for optimal coverage and durability. Begin by applying the first coat and allow it to dry according to the manufacturer’s directions. Lightly sand between coats to ensure a smooth surface and better adhesion of the subsequent layer. Generally, two to three coats are recommended, especially when transitioning between contrasting colors.
Utilizing different shades of paint can also be an effective strategy; for instance, a lighter, more pastel color over a darker base. This approach may require additional skill, but the resultant depth of color can be worth the extra effort.
Finishing Techniques to Enhance the Look
Once the paint is applied and dried, several finishing techniques can significantly enhance the appearance of the painted drywall. Considering the choice of sheen can elevate aesthetics; for example, flat or matte finishes can camouflage imperfections, whereas satin and semi-gloss finishes reflect more light and offer better washability.
Additionally, consider texturing options to complement your painting technique. Various textures can add dimension to the wall, with options ranging from knockdown to skip trowel patterns, depending on your desired style.
Common Challenges in Drywall Painting and Solutions
Dealing with Stains and Imperfections
Stains from water damage, smoke, or other sources can be problematic when painting drywall. Before painting, it is critical to address these stains. The recommended approach is to use a stain-blocking primer specifically designed for stubborn marks. Treat stains effectively with a quick-drying, water-based primer before the final paint application.
For large areas of concern, consider consulting a professional painting expert or contractor for specialized assistance.
Preventing and Fixing Paint Drips and Splatters
Paint drips and splatters can be an unfortunate outcome of any painting project, often resulting from overloading brushes or rollers. To prevent this, always load your painting tools appropriately and maintain steady, even strokes.
If you do notice drips as you paint, don’t wait for them to dry. Instead, use a putty knife to carefully scrape away the excess paint before it hardens, ensuring a smooth finish.
Handling Different Textures and Finishes
Drywall does not come in a one-size-fits-all format; different textures and finishes can require unique approaches. For smooth finishes, a combination of careful sanding and the right application tools will yield the best results. However, for textured surfaces, you may want to use stippling techniques or specialized tools to achieve consistency.
The type of texture you choose will also impact how much paint is absorbed, thus affecting the number of coats needed. Always test a small patch first to determine the best technique for your specific surface.
Final Touches and Maintenance After Drywall Painting
Understanding Drying Times and Curing
One often overlooked aspect of painting is allowing adequate time for both drying and curing. Although paint may feel dry to the touch within a few hours, it’s essential to account for the longer curing process, which can take several days. During this time, avoid hanging any items on the walls to prevent any imprints or markings.
The specifics of drying times can vary widely based on variables such as climate, paint types, and applicators used, so always consult the paint manufacturer’s instructions for guidance.
Tips for Clean-Up and Tool Storage
Post-project clean-up is equally important as the painting itself. Cleaning up excess paint from brushes, rollers, and trays should take place immediately after completing your work. Using warm, soapy water is effective for water-based paints, while solvent-based paints may require specific cleaning products. Additionally, storing your tools correctly will prolong their life and prepare them for future use, so store brushes upright and rollers inside a sealed plastic bag.
Maintaining Your Painted Drywall: Long-term Care
Once your drywall is painted, ongoing maintenance can help keep it looking fresh. Regularly check for any signs of fading, stains, or scratches that may require touch-ups. Keeping surfaces clear of furniture or decor that may scratch walls and frequent dusting can also prolong their appearance.
Finally, when it comes time to refresh the paint, follow similar procedures as outlined above to maintain the quality and aesthetics of your drywall.